Bluebird blog
Swirl marks: what they are and what actually removes them
Swirl marks are fine scratches cut into the clear coat, which is why no wash, polish-in-a-bottle or wax removes them: they can only be leveled out by machine.
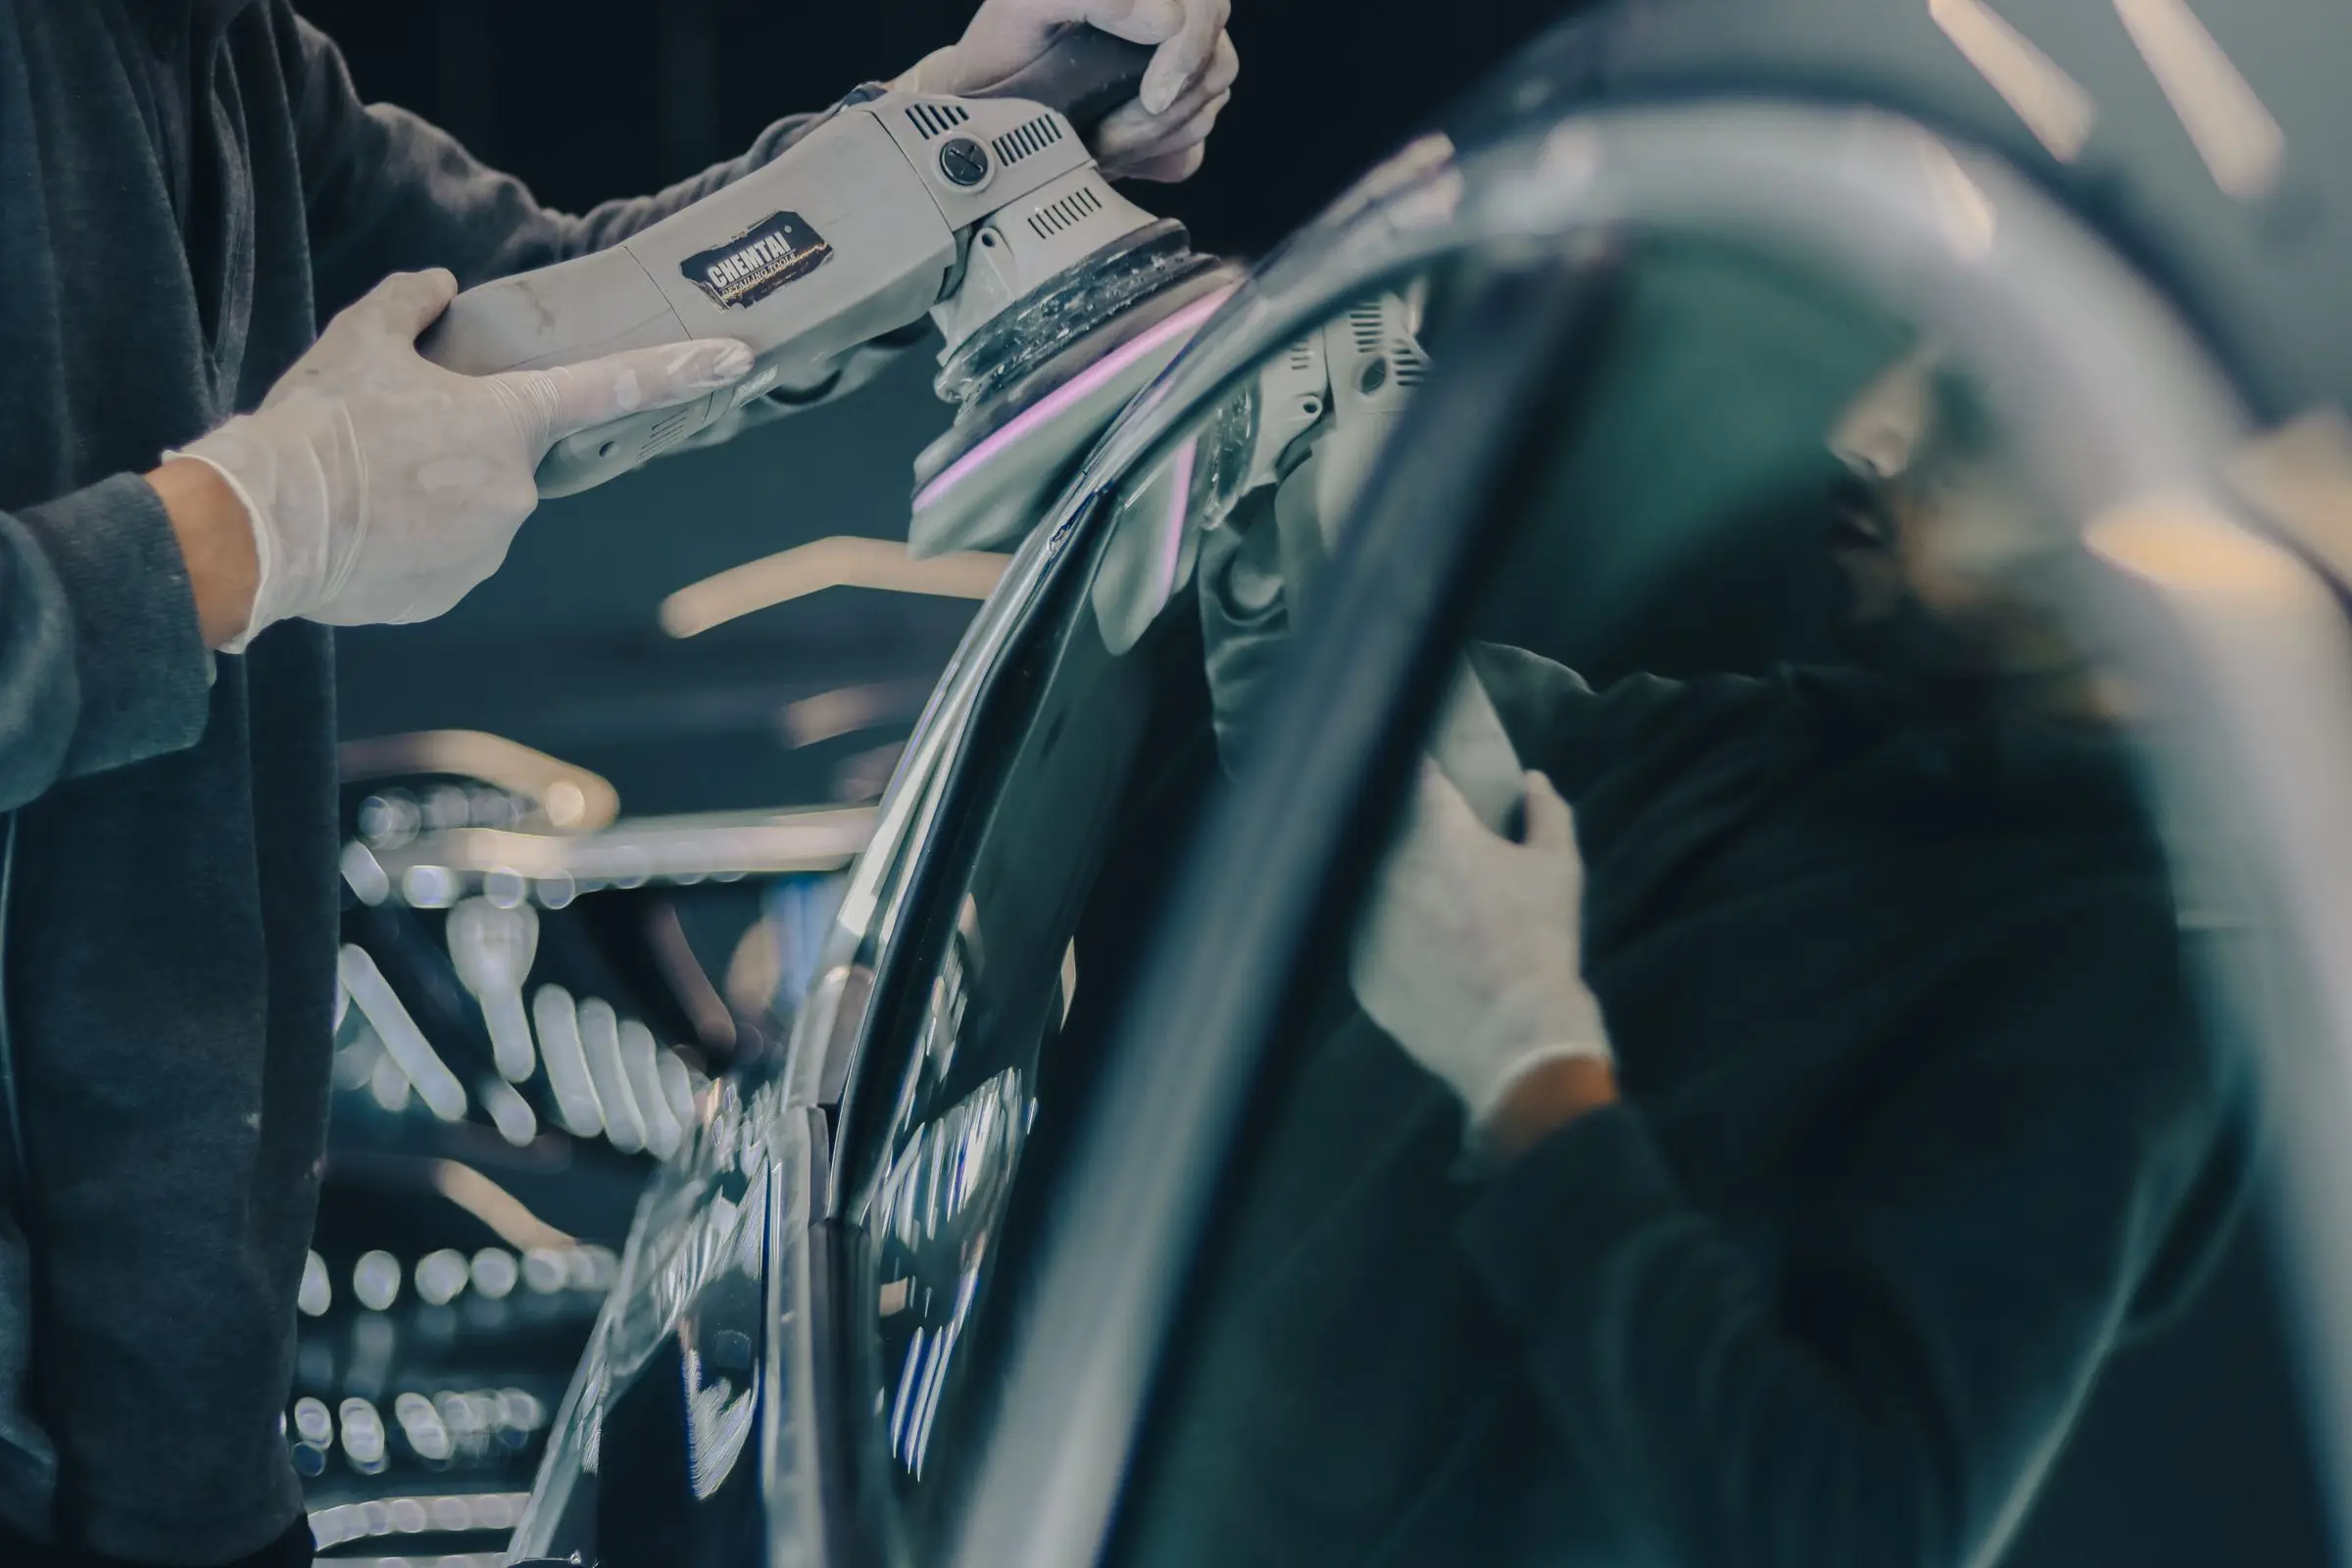
Swirl marks are fine scratches cut into the clear coat, which is why no wash, polish-in-a-bottle or wax removes them: they can only be leveled out by machine. Understanding that one fact saves most people a lot of money on products that were never going to work.
What you are actually looking at
Swirls are thousands of shallow scratches in the clear coat, and what you see is sunlight catching their edges. They show as a spider web or halo pattern in direct sun and disappear on a cloudy day, which is why people often do not notice them until they park somewhere bright.
They are not on the paint. They are in it.
Where they come from
Almost all swirls are put in during washing and drying. The usual sources, in rough order of damage:
- Automatic brush washes. The single most reliable way to swirl a car. The brushes carry grit from every vehicle before yours.
- Washing a dry, dirty car. Dragging a mitt across grit is sanding.
- One bucket and one mitt. The grit you removed goes back in the bucket and then back on the paint.
- Drying with the wrong towel, or drying a panel that still has grit on it.
- Wiping off dust between washes. Very common, and it does more damage than leaving the dust.
Why wax and “scratch remover” do not fix it
Wax and glaze fill the scratches temporarily rather than removing them. The finish looks better for a few weeks because the filler is sitting in the grooves scattering less light. Then it washes out and the swirls are exactly where they were.
That is not fraud, it is just a different product doing a different job. Filling is not correcting.
What correction actually does
Machine correction removes a very thin layer of clear coat so the surface is level with the bottom of the scratches. That is the whole mechanism, and it is why it is the only thing that works permanently.
Our paint correction is a single-stage cut and refine at $399:
- A full decontamination wash, because polishing over grit adds scratches
- Clay bar to bare, smooth paint
- Panel by panel inspection under proper light
- A machine cut pass, then a refining pass for clarity
- A panel wipe to verify the finish rather than the polishing oils
- Sealant to protect the result
How much clear coat it takes
Very little. A single-stage takes off only the top of the clear coat, which is why factory paint can usually take correction two or three times over its life and a cheap repaint often takes it once.
If the paint is too thin to work on safely, the right answer is to say so and stop rather than push it. Deeper scratches that catch a fingernail are below the level a single stage will reach, and chasing them is how a panel ends up needing paint.
What to do afterwards
Correct, then protect, in that order. Correction leaves the clear coat as good as it is going to get, and a ceramic coating at $299 is what keeps it that way for two to three years.
Doing it the other way round is the expensive mistake. A coating locks in whatever is underneath it, so coating swirled paint means stripping the coating off later to fix what you sealed in.
Not putting them back
Correction is worth nothing if the wash routine that caused the swirls carries on. Two buckets, a grit guard, rinse before you touch the paint, and no brush washes. Coated paint helps here too, because most dirt rinses off before a mitt ever touches it.